Image Files Preparation Tutorial
Good PracticesIt is very important to follow best practices for image file preparation. Your buyers will be happy to receive high quality products and will come back to your shop.
File Types We accept JPG for all products and PNG files only for T-Shirts and Hoodies (see the specific section for T-Shirts and Hoodies image files preparation). Our printers work well with RGB files. Do not submit CMYK files. We recommend that you work in TIFF or PSD and then save your image in JPEG at the maximum quality. The stronger the compression, the more JPEG ‘noise’ or ‘artefacts’ you get. This also allows you to keep the best quality with a minimum file size.
Quick reminder about image size jargon The image size concept is often a confusing issue. The file size, which is measured in MB (megabytes), is often mistaken for the image resolution, which is measured in megapixels and is the result of the Length multiplied by the Heigth. The resolution information is what we use to determine the possible printing size.
Image Files Sizes Requirement for the Various Products
Art Prints and Stretched Canvases
- Heigth and Length must be greater than 1400 pixels. - The file size should not exceed 50MB.
- Images that are too narrow will also be refused (i.e. the ratio Heigth vs. Width must be less than 10).
- We do not print Art Prints less than 4 inches large or high and less than 6 inches for Canvases.
- We do not print under 150 dpi at the final print size. We recommend a minimum 300 dpi definition at the final print size. The following table summarizes the minimum resolutions required for each print format.
If the resolution of your image is not sufficient, all sizes of art prints and canvases may not be available. In this case, DO NOT MANUALLY INCREASE the size of your image in Photoshop. This can result in poor print quality that our artwork submission control system may not be able to fix. Always work with the highest quality from the beginning, because you cannot increase it later. Greeting Cards & Postcards: Exactly 1500x2250 pixels. T-Shirts and Hoodies: Exactly 3600x4500 pixels and the file must be in PNG 8-bits RGB. Smartphone Cases / iPhone & iPod Skins: Exactly 1200x1900 pixels. Laptop & iPad Skins: Exactly 4600x3000 pixels. Murals: The minimum resolution is 7200x7200 pixels, which allows a maximum print size of 95.7x95.7 inches at 76 dpi.
Can I increase my original image size for my mural? A Mural is best seen from far away compared to an Art Print or Canvas. So the required image definition for Murals can be lower. In general we do not recommend that you manually increase the original file resolution, but the Mural can accept this manipulation to a certain extent. This will enable you to offer a larger print size to your buyers. But be very careful and always check your final image quality, otherwise it could lead to some pixelization or unacceptable blurring effects. If this occurs, we would be able to use your file for production. If you decide to increase the resolution of your image choose the following menu options in Photoshop while saving your image file: Image > Image Size option "Bicubic smoother". If you are using the GIMP software, then select the option "Bicubic" and gradually increase the size in 10 percent increments Click "OK" for each increase, until you reach the desired image quality. For those who use Adobe Lightroom or Perfect Resize, the ability to increase the image size are even more powerful.
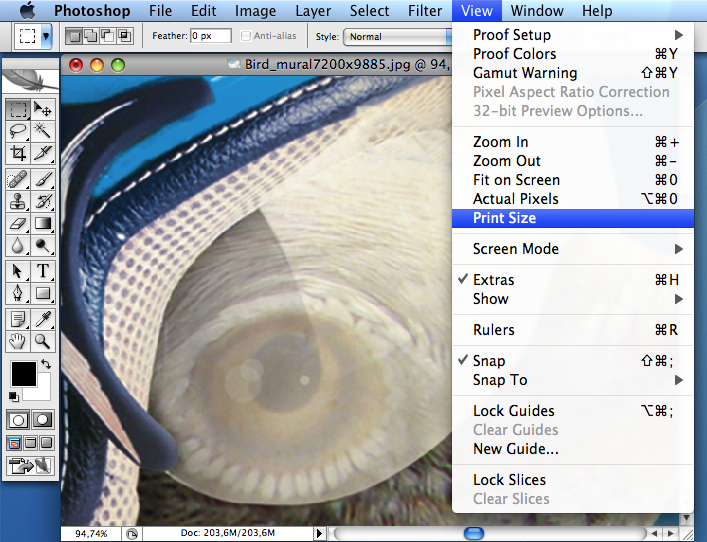
Always Check your final image quality For Murals, these issues around image resolution are critical. Here’s a step by step process to do a visual check of the image file quality:
If the image on your screen appears blurred or pixelated, please don’t post it on the site. It will not meet the standards for production.
The image above has a very good quality when seen at the final print size.
Detailed cropping issues during production Do not put texts or borders on the edges of your image. Elements placed around the edges might be slightly cropped during the printing and production process.
Color Management RGB or CMYK? Black and white Color profiles
How to scan your work? If you want to have a picture of your work, you can either scan it or photograph it. For a high quality photography, use a camera that takes at least 6 megapixel images.
Preparing Image Files for T-Shirts & Hoodies
What graphics software should I use?We recommand that you use Photoshop. For those who cannot afford it, we also recommend the free software Gimp. For vector graphics, Adobe Illustrator is perfect. There are also some free alternatives such as Inkscape. Once your image preparation work is done, you need to convert it in PNG.To create PNG files you can also use other specialized softwares such as Photoshop Elements, Corel Photo-Paint, Paint Shop Pro, Pixel image editor, Paint.NET or Xara.
Which file format do I need for T-Shirts & Hoodies? We accept 8-bit PNG file in RGB for T-Shirts. PNG is the most compressed format for transparent background. Although all files must be uploaded in PNG/RGB, we print T-Shirts in CMYK, so in order to be as close as possible to the colors of the final print, you should work first in CMYK mode and then convert you file in RGB mode before saving your artwork and uploading it in your account. You can change the color mode of your file in Photoshop by going to Image > Mode. We are aware of how confusing this might sound. The printing process is complex and this method should give you the best results.
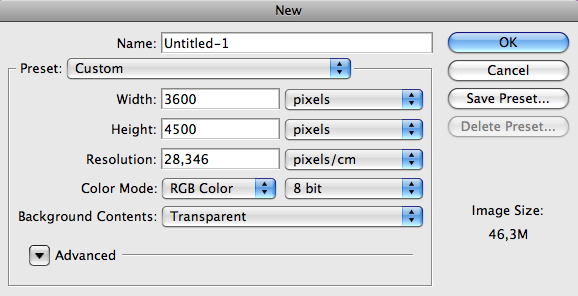
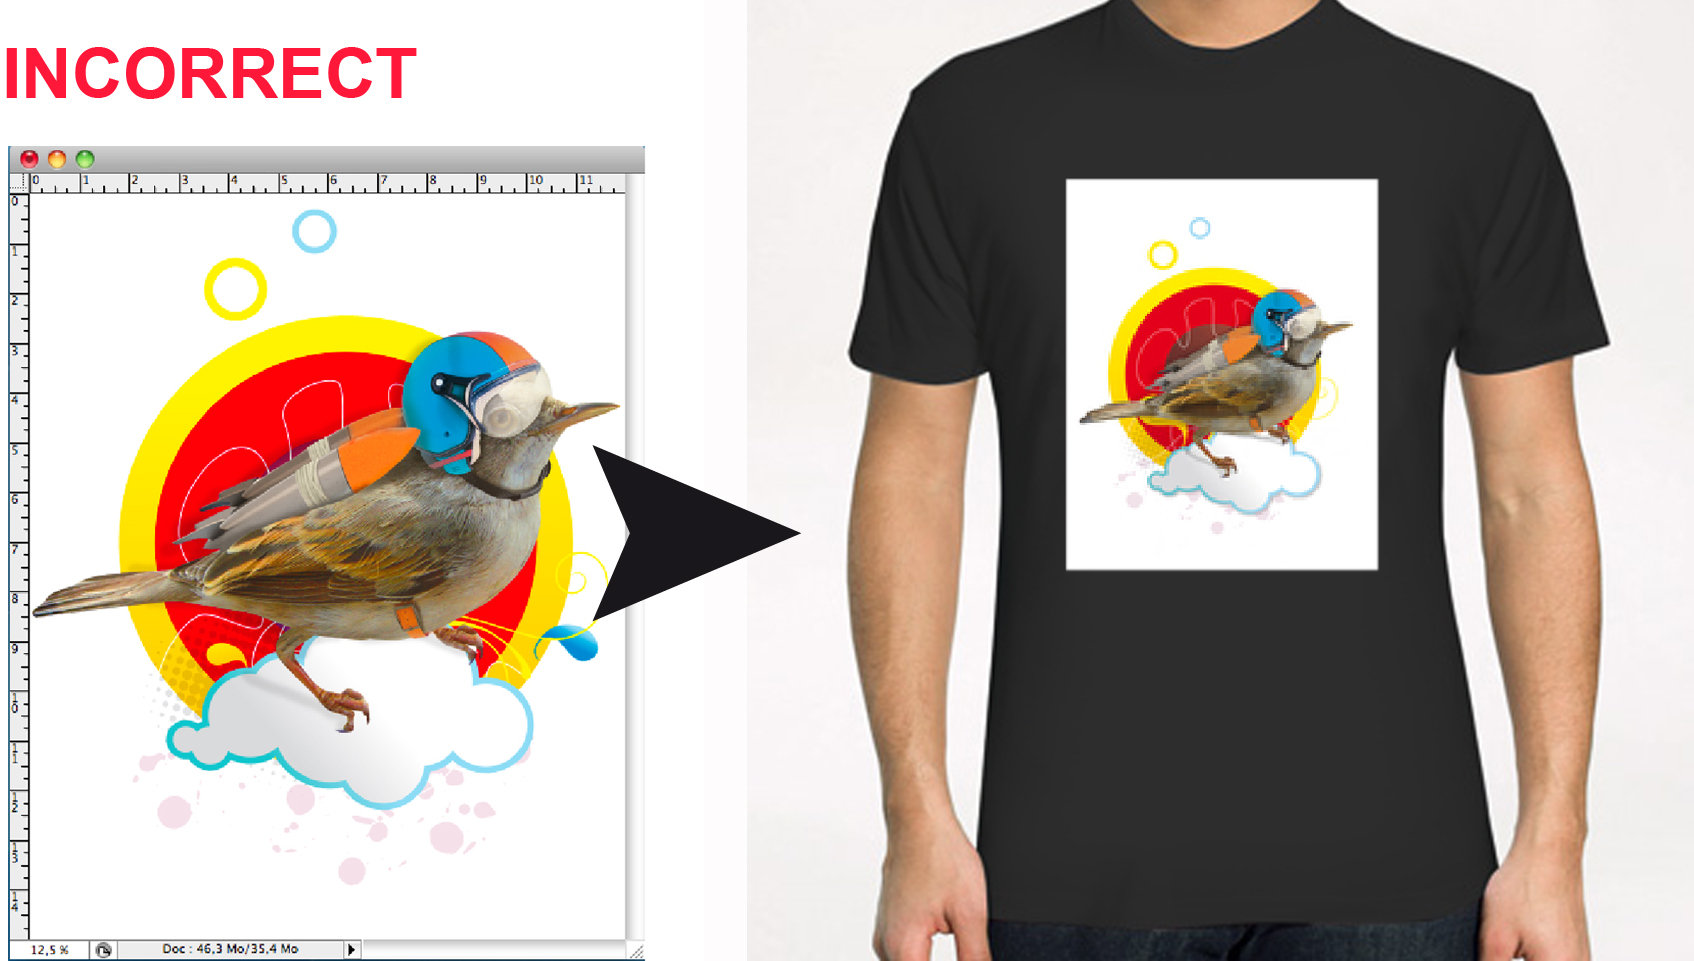
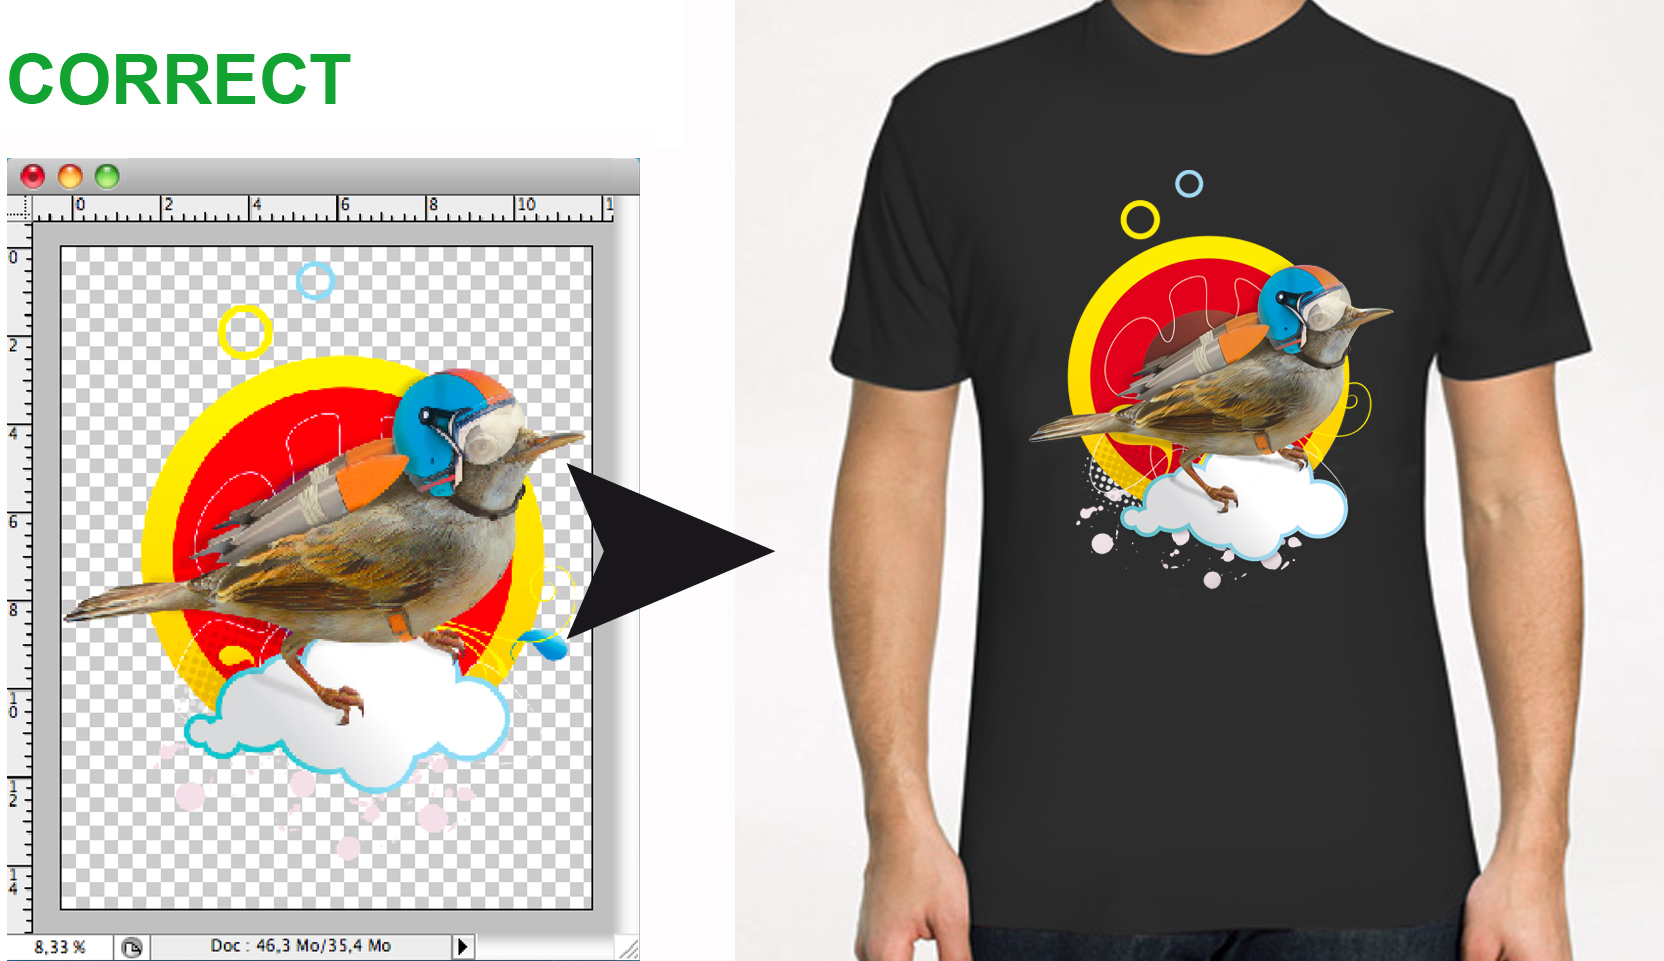
Creating a PNG image with a transparent background Create a new image size of 3600x4500 pixels with a transparent background.
Select ‘Transparent’ Background Contents. This will eliminate the unwanted rectangular shape. A transparent background looks like a gray and white checkerboard in Photoshop. Do not flatten your image or do not fill in the background with white otherwise your final print will also include a white rectangular background. If you are starting from an existing image that contains only one layer and does not have a transparent layer, there are several ways to obtain a transparent background. Here’s the most common approach in PhotoShop:
You can also find many tutorials online if you need more information on this topic.
|
||||